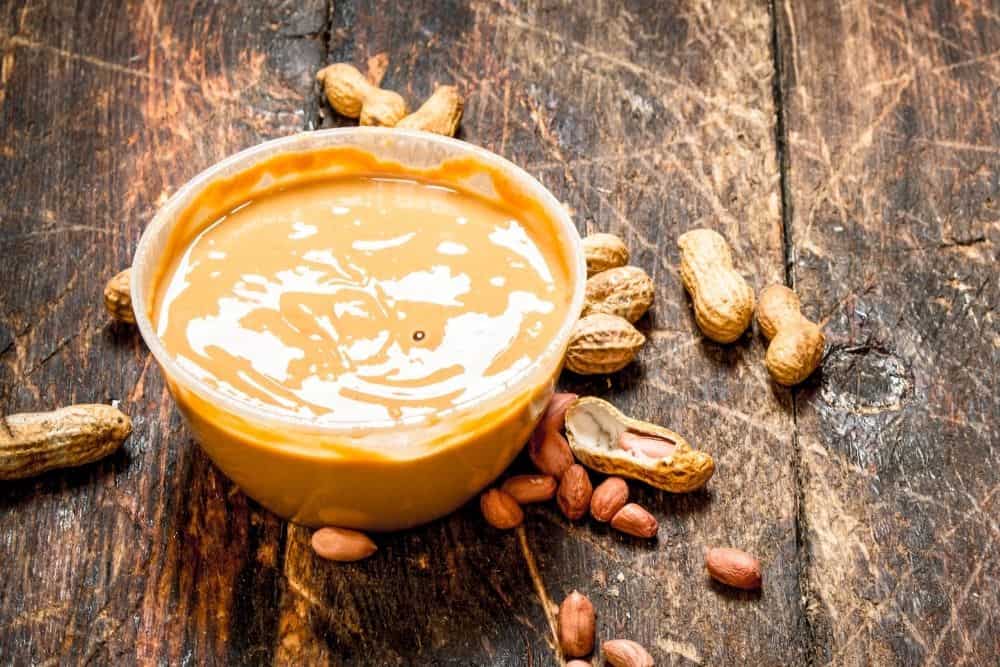
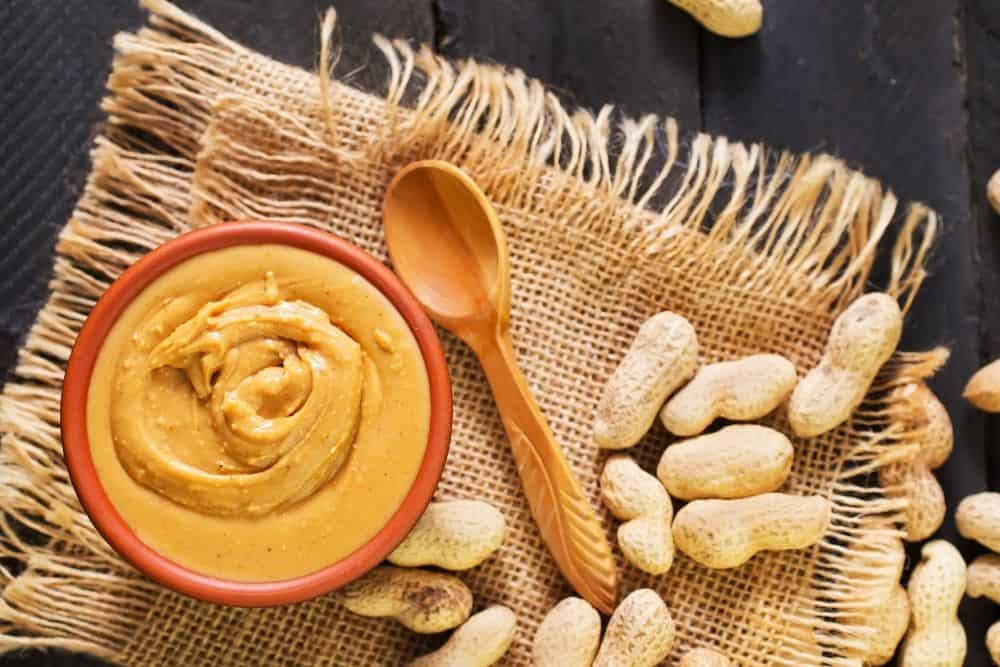
Peanut butter is an incredibly versatile and much-loved kitchen staple. Whether you’re whipping up a sandwich or a cheesecake, peanut butter can help to bring your meal together and contribute a rich, sweet nuttiness to your flavor combinations.
The many purposes of peanut butter can be extended even further by melting the butter prior to use. This opens up the doors to so many possibilities, including homemade satay sauce, gooey brownies, and even fun granola toppings!

Appropriately, considering the multiple potential uses of peanut butter, there are several different ways you can go about melting this nut butter.
We’ll be going through the three best methods of melting peanut butter in today’s article, so take your pick and start experimenting! You’ll be surprised by how far a drizzle of melted peanut butter can go when it comes to enhancing your everyday cooking.
Table of Contents
Melting Peanut Butter on the Stove
The traditional method of melting peanut butter is by heating it up in a pan over the stove.
To melt peanut butter on the stove, you will need:
- A saucepan
- A spoon or spatula
Step 1: Set a Low Temperature
The main thing you want to keep in mind when melting peanut butter over the stove is that it’s easy to burn peanut butter at high temperatures.
When you have the burners on your stove cranked up to the maximum temperature, a split second of inattention can result in your pan being caked in crusted, burnt peanut butter, which isn’t good for your cookware or for your recipe.
Therefore, it’s best to keep your stove set to a low temperature throughout the melting process. Granted, this does mean that it might take longer to get the peanut butter to your desired consistency, but it’s better than having to start again or potentially buy a new pan.
Step 2: Keep Stirring
Remember to keep stirring while your peanut butter is melting! Even at low temperatures, peanut butter can easily start to stick to the pan if it’s left too long without being stirred.
Stir consistently in a circular motion, making sure to run your spatula or spoon around the sides of the pan to catch any sticking as it arises.
Step 3: Remove the Pan
The second your peanut butter has melted to your satisfaction, remove the pan from the stove.
It only takes a few seconds to over-melt your peanut butter, which can make it too thin and watery for its intended purpose.
On average, it shouldn’t take longer than 5 minutes for peanut butter to melt.
Melting Peanut Butter in the Microwave
If you’re looking for a quicker and easier alternative to melting peanut butter over the stove, you can melt it in the microwave instead!
To melt peanut butter in the microwave, you’ll need:
- A bowl
- A lid or other covering
- A spoon or spatula
Step 1: Put your Bowl in the Microwave
Put your peanut butter into a microwave-safe bowl and cover it with either a microwave-safe lid or a suitable covering such as a paper towel or cling film.
Then, place the bowl into the microwave.
Step 2: Turn on the Microwave
Set the microwave to a high setting and set the timer for 30 seconds before turning on the microwave.
Make sure not to stand right up against the microwave once it’s in operation. You can check on your peanut butter once the timer has elapsed.
Step 3: Check and Repeat
After 30 seconds, take your bowl out of the microwave (it could be hot, so be careful) and stir the peanut butter to check the consistency.
If it’s not yet as melted as you’d like, just put it back for another 30 seconds and keep going until you achieve your preferred consistency.

Melting Peanut Butter in a Food Processor
Finally, if you own a high-powered food processor, you may be able to melt your peanut butter by blending it!
If you’re going to use your food processor to melt peanut butter, you will need:
- A jug of water
- A spatula
Step 1: Work out your Ratios
You can’t blend peanut butter by itself because it is too thick in its natural consistency and will just get stuck to the blades.
Therefore, for every tablespoon of peanut butter you use, you’ll need to add two tablespoons of water to thin the mixture.
Step 2: Blend the Peanut Butter
Once you’ve added the right amounts of peanut butter and water to your food processor, you can go ahead and start the processor running.
If you don’t want to melt the peanut butter too much, you should use a low power setting. However, if you want to completely liquefy the mixture, go with a higher setting.
Blend for 30 seconds, then stop and check the consistency. If it’s not yet how you want it, just keep blending.
Step 3: Scrape out the Peanut Butter
Depending on how thick your end consistency ends up being, you may need to physically scrape the peanut butter out of the processor, so make sure you have your spatula on hand for this.
Frequently Asked Questions
Will melted peanut butter harden again?
As it cools, your melted peanut butter will begin to harden again, so make sure to use it while it’s still warm.
If you’ve thinned the peanut butter with water, however, the mixture is unlikely to return to its original consistency because you have altered it beyond simply heating up the butter.
Peanut butter can even harden in the jar without being melted beforehand. If this happens and you want to soften the peanut butter without melting it, you can try adding just a little bit of peanut oil or canola oil. Use a nut-flavored or neutral-tasting oil to avoid affecting the flavor.
Can you mix melted peanut butter with milk?
Yes, you can mix melted peanut butter with milk, but you will probably need to do this in a food processor, microwave, or over the stove during the melting process as opposed to after the fact.
This is because mixing peanut butter with milk by hand is unlikely to result in a fully combined mixture – at least, not without a lot of elbow grease.