Brussels sprouts. The unsung hero of a Thanksgiving or Christmas dinner and the most underappreciated vegetable of many a roasted dish.
Once boiled beyond redemption and served sitting in a puddle of its own sogginess, you’ll now find a hundred different recipes for Brussels sprouts that see them roasted, fried, or shaved straight into a salad still raw.
They’ve gone from being pretty unappealing to utterly delicious, and with so many different ways to enjoy Brussels sprouts, it’s hard to believe that you might find yourself with some leftover.
More importantly, to take full advantage of the new, inspired ways you can cook Brussels sprouts you’ll want to make sure with the freshest produce possible, which means knowing how to store them correctly so they’ll keep for longer.
Table of Contents
Choosing the Right Sprouts
The first step is to make sure you buy sprouts when they are at their very best to begin with.
Sprouts are typically considered a winter vegetable and they tend to be in season during the colder months.
It’s around this time that you’ll see them practically overflowing in crates stacked upon crates at your local farmer’s market, but they can be found year-round in most grocery stores or supermarkets.
You should look to pick sprouts that are small in size, firm, and a nice vibrant green color. The leaves should be quite tight, but if their leaves are looking a little loose then you should leave them behind.
It’s also a good idea to stick to a similar sort of size and uniformity so that they’re all done at the same time.
Storage Preparation
What should you do to your sprouts before storing them away until you’re ready to cook with them?
Nothing! You can store your sprouts unwashed and untrimmed, so it’s easy to just get home from the supermarket and pop them straight into a plastic bag, loose or on the stalk.
The reason you don’t need to wash them is that the excess moisture can cause a build-up of bacteria or decay and the sprouts will turn moldy faster.
It’s worth noting that if you have enough space in your fridge to keep them on the stalk, this usually helps them to stay fresher for a little longer than if you had bought them individually.
You might even want to leave them in the original packaging if that’s how you bought them, but we would recommend having a quick check to doubly make sure that there are no bad sprouts hiding among the fresh ones, as this can speed up the expiry process for the others.
The only other thing that might be worth doing is removing any leaves that are starting to wilt or if they’re turning a yellowish color.
You can then re-cover your sprouts or place them into a plastic bag and they can be kept in the refrigerator where they’ll stay cool and fresh.
Where in the Fridge Should You Store Your Sprouts?

Is it okay to just throw your sprouts onto the first shelf where you can find space in your fridge, or is there a more strategic location that will help keep them fresher for longer?
We’ve found that the crisper is the best place to keep your sprouts, and here they should last for up to a week, or maybe even a few days more if they were particularly fresh when you bought them.
Taste-wise, they’re at their best after 3 or 4 days, after which point they become less and less sweet.
If you want to store them for longer, you can also place the stalk in water in either a shallow bowl or a cup if you have space for one, and that way you can pick sprouts from the stalk as and when you need to use them.
If you’ve already trimmed, chopped, cut, or shredded your Brussels sprouts so that later on when it comes to dinner, don’t worry, you can still store them for a couple of days, but this is obviously a shorter period of time than if you left them whole.
The prepared sprouts should be kept in an airtight container inside your refrigerator.
Long Term Storage Options

If you’re really not planning on using your sprouts for some time, or if you just like to have some on hand for those last-minute recipes, they can also be stored in the freezer where they will keep for up to 12 months!
There are two main ways to do this, so we’ll walk you through each of them.
Freezing Blanched Brussels Sprouts
Blanching Brussels sprouts and freezing them is the most popular way to store Brussels sprouts long-term, so here’s a step-by-step guide on how to do it.
- Before you start, wash your sprouts under cold running water. You can also soak them for an hour or so if you’re worried about insects hiding between the leaves, and if you add a tablespoon of salt per gallon of water any bugs that are in there somewhere will begin to emerge and you can wash them away.
- Place a large pot of water over high heat and bring it to the boil, then add your sprouts being careful not to splash the hot water over yourself. Larger sized sprouts will take about 5 minutes, whereas medium sprouts will only need 4 and it drops down to 3 for smaller sprouts.
- Once they’ve finished boiling for the correct amount of time, remove them from the boiling water and place them straight into a bowl filled with water and ice cubes as this will halt the cooking process so they don’t overcook before you freeze them.
- Allow them to completely cool and then spread them across a baking tray and dry them with paper towels. Place them in the freezer for an hour.
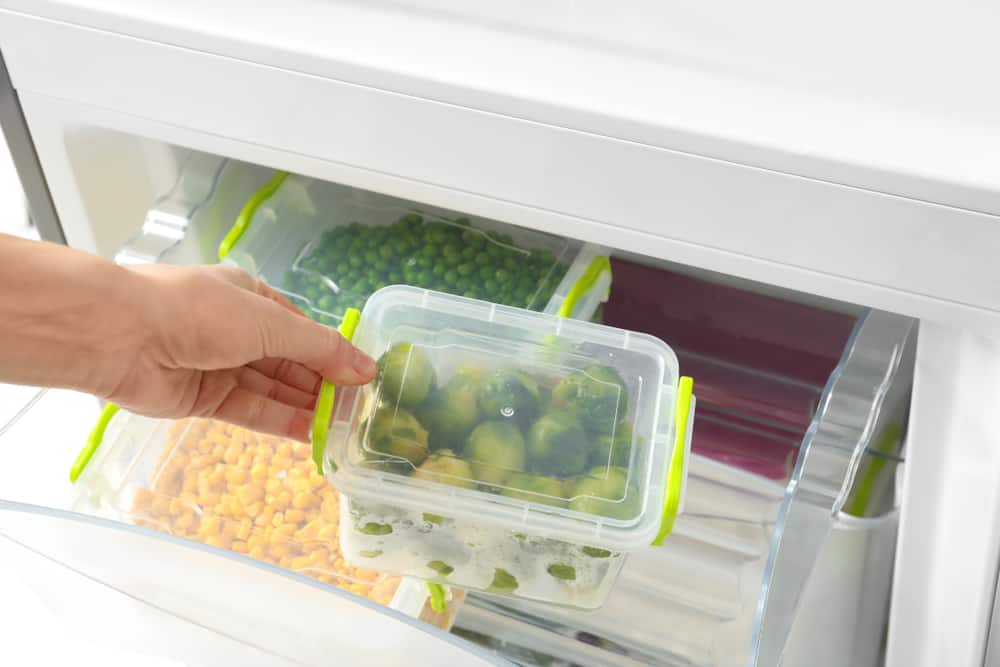
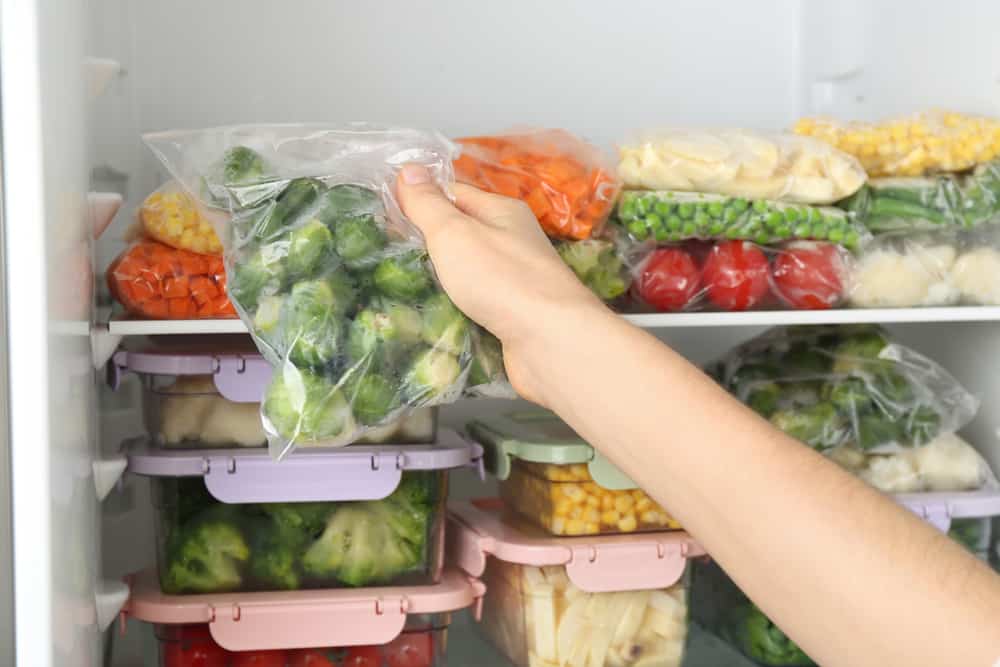
- Now they’re frozen, you can transfer the sprouts to a freezer bag. Squeeze the air out of the bag and place them in the freezer with the date and contents written on a label so you know when you froze them.
Freezing Roasted Brussels Sprouts
For an easy injection of flavor before you even add anything to them after taking them out of the freezer, roasting the Brussels sprouts first will ensure tasty, delicious results.
- Preheat the oven to 400°F (200°C/Gas 6).
- Drizzle 2 tablespoons of extra virgin olive oil over the sprouts per pound and mix together with a spoon.
- Spread the sprouts across a baking tray and place them in the oven for around 40 minutes, or until they look tender. You should turn the sprouts over every now and then during cooking by shaking the tray or using a pair of tongs.
- Once they’re cooked, remove the sprouts and allow them to cool. Place them within an airtight container or a freezer bag, and squeeze the air out of it before sealing it. You can then put it in the freezer with the date and contents written on a label.